Camera modes in Samsung galaxy smartphones
Capturing an unforgettable moment is made easier with a variety of different modes in your Galaxy smartphone camera.
Note: -
- The camera modes and names may vary by software version and phone models.
- The latest Galaxy devices come pre-installed with all available camera modes. If you don't have the option to add additional modes, you may already have them on your device.
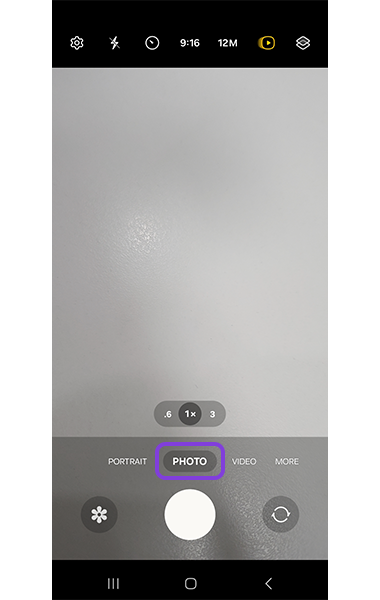
Photo mode
The camera adjusts the shooting options automatically depending on the surroundings. On the shooting modes list, tap PHOTO and tap capture icon to take a picture.
Note: - The resolution may vary depending on the device model.
Video mode
The camera adjusts the shooting options automatically depending on the surroundings.
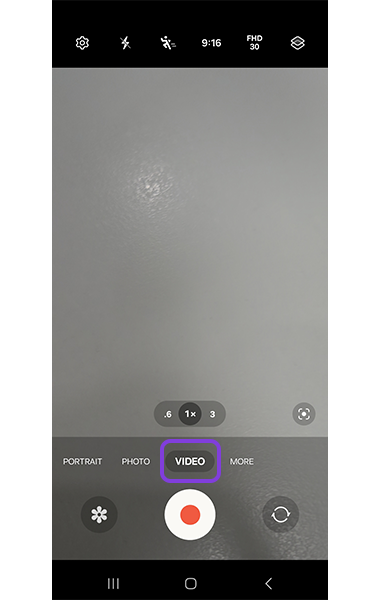
1. On the shooting modes list, tap VIDEO and tap record icon to record a video.
To switch between the front and rear cameras while recording, swipe upwards or downwards on the preview screen.
To capture an image from the video while recording, tap capture icon.
To record the sound from a specific direction at a higher volume while recording a video, point the camera towards that direction and adjust the zoom.
2. Tap STOP to stop recording the video.
If you use the video zoom feature for a long time while recording a video, the video quality may diminish to prevent your device from overheating.
The optical zoom may not work in low-light environments.
Director’s view / Dual REC mode
Record videos from different angles by switching the cameras. You can save the videos of the front and rear cameras separately and edit them. You can also play the videos in split view or picture-in-picture view.
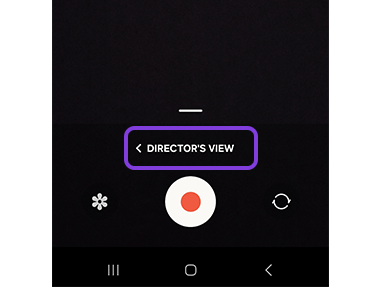
1. On the shooting modes list, tap MORE > DIRECTOR’S VIEW / DUAL REC MODE.
2. Select the screen and the camera thumbnail you want and tap record icon to record a video.
- To save the videos of the front and rear cameras separately, tap
 .
. - To change the screen before starting the recording, tap
 and select the screen you want.
 - You can change the camera thumbnail while recording. If the thumbnail is hidden, tap
 icon to display it.
3. Tap STOP to stop recording the video.
Single take mode
Take pictures and videos in one shot. Your device automatically selects the best shot and creates pictures with filters or videos with certain sections repeated.
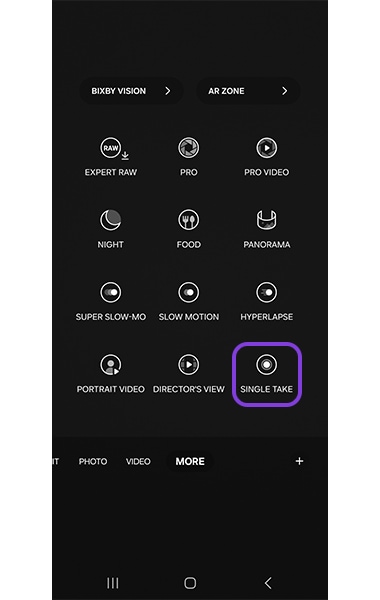
1. On the shooting modes list, tap MORE > SINGLE TAKE.
2. Tap capture icon to capture the scene you want.
3. When you are finished, tap the preview thumbnail.
To check the other results, drag the  icon upwards. To save the results individually, tap Select, tick the items you want, and tap
  .
.
Portrait mode / Portrait video mode
In Portrait mode or Portrait video mode, you can capture pictures or videos with a blurred background effect. You can also apply a background effect and edit it after taking a picture.
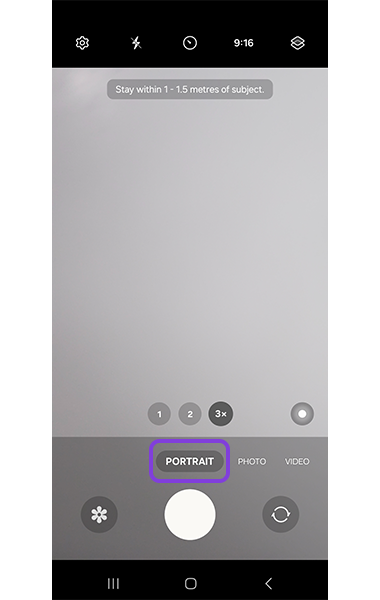
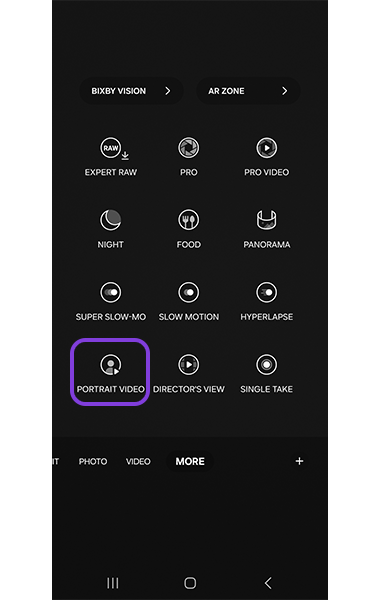
1. On the shooting modes list, tap PORTRAIT or tap MORE > PORTRAIT VIDEO.
2. Tap  and select a background effect you want. To adjust the intensity of the background effect, drag the adjustment bar.
3. When Ready appears on the preview screen, tap ![]() to take a picture or tap
to take a picture or tap  to record a video.
Notes –
The available options may vary depending on the shooting mode.
Use this feature in a place that has sufficient light.
The background blur may not be applied properly in the following conditions:
‒ The device or the subject is moving.
‒ The subject is thin or transparent.
‒ The subject has a similar color to the background.
‒ The subject or background is plain.
AR (Augmented Reality) Emoji
AR (Augmented Reality) Emoji is a feature that can create your animated avatar and record your movements and facial expressions. You can also add facial expressions, actions, custom text, decorations and backgrounds to create your own stickers.
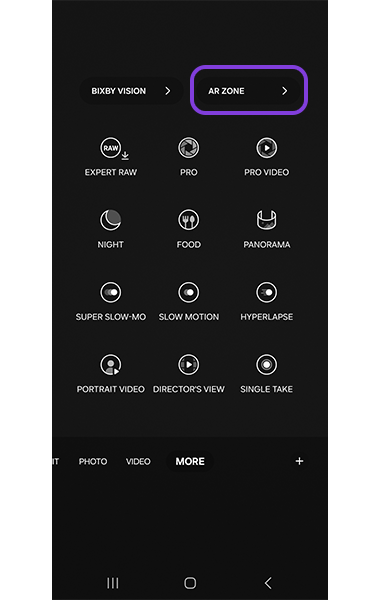
In Food mode, focus on a subject inside the circular frame and blur the image outside the frame.
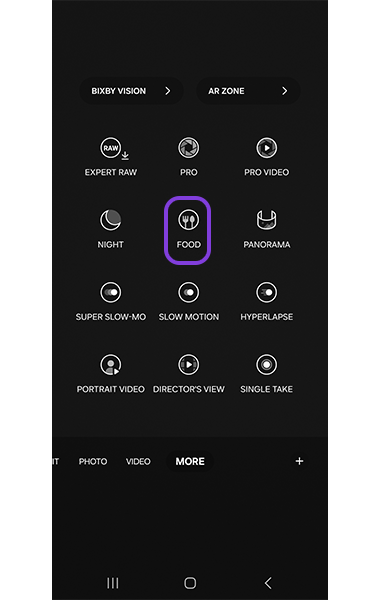
1. On the shooting modes list, tap MORE > FOOD.
2. Tap the screen and drag the circular frame over the area to highlight. The area outside the circular frame will be blurred. To resize the circular frame, drag a corner of the frame.
3. Tap ![]() and drag the adjustment bar to adjust the color tone.
and drag the adjustment bar to adjust the color tone.
4. Tap ![]() to take a picture.
to take a picture.
Hyperlapse mode
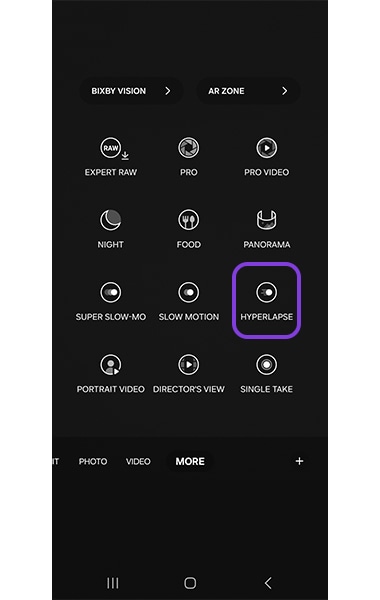
Record scenes, such as passing people or cars, and view them as fast-motion videos.
1. On the shooting modes list, tap MORE > HYPERLAPSE.
2. Tap AUTO and select a frame rate option.
If you set the frame rate to AUTO, the device will automatically adjust the frame rate according to the changing rate of the scene.
3. Tap ![]() to start recording.
to start recording.
4. Tap ![]() to finish recording.
to finish recording.
Night mode
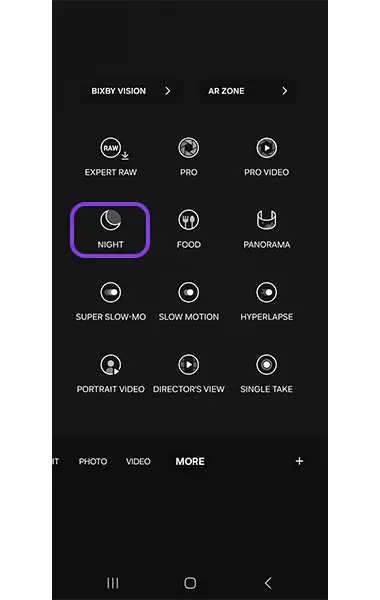
Night mode allows you to take a picture in low-light conditions, without using the flash. When you use a tripod, you can get brighter and steadier results.
1. On the shooting modes list, tap MORE > NIGHT.
If you set the time that appears at the right bottom of the screen to Max, you may get clearer pictures.
2. Tap capture icon and hold your device steady until shooting is complete.
Panorama mode
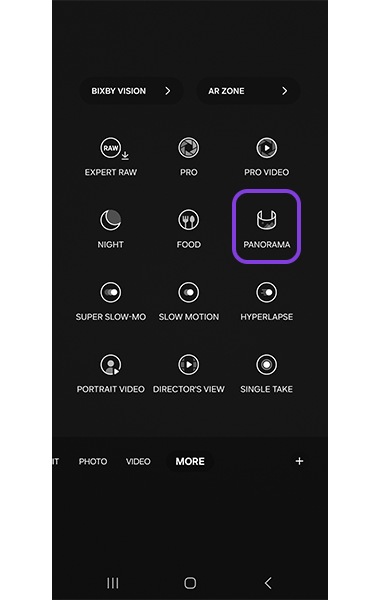
The panorama mode captures a series of pictures and then stitches them together to create a wide scene.
1. On the shooting modes list, tap MORE > PANORAMA.
2. Tap capture icon and move the device slowly in one direction.
Keep the image within the frame on the camera’s viewfinder. If the preview image is out of the guide frame or you do not move the device, the device will automatically stop taking pictures.
3. Tap stop icon to stop taking pictures.
Note: - Avoid taking pictures of indistinct backgrounds, such as an empty sky or a plain wall.
Super Slow-mo mode
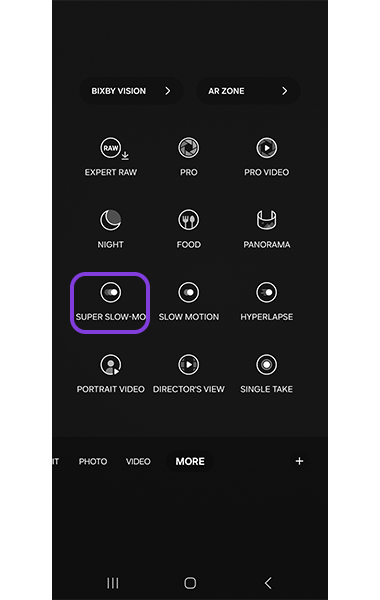
Super slow motion is a feature that records a fast motion slowly
1. On the shooting modes list, tap MORE > SUPER SLOW-MO and tap record icon to record a video. The device will capture the moment in super slow motion and save it as a video.
2. On the preview screen, tap the preview thumbnail. To edit the super slow motion section, tap edit icon and drag the section editing bar to the left or right.
Note: - Use this feature in a place that has sufficient light. When recording a video indoors with insufficient or poor lighting, the screen may appear dark or grainy. The screen may flicker in certain lighting conditions, such as in places with fluorescent lighting.
Slow motion mode
Record a video in slow motion.
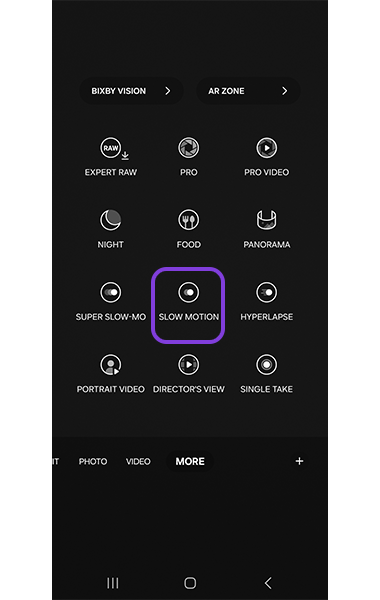
1. On the shooting modes list, tap MORE > SLOW MOTION and tap record icon to record a video.
2. When you are finished recording, tap stop icon to stop.
Pro mode / Pro video mode
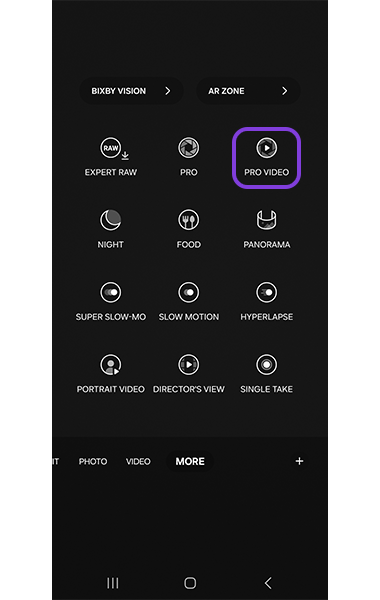
Capture pictures or videos while manually adjusting various shooting options, such as exposure value and ISO value. On the shooting modes list, tap MORE > PRO or PRO VIDEO. Select options and customise the settings, and then tap capture icon to take a picture or tap record icon to record a video.
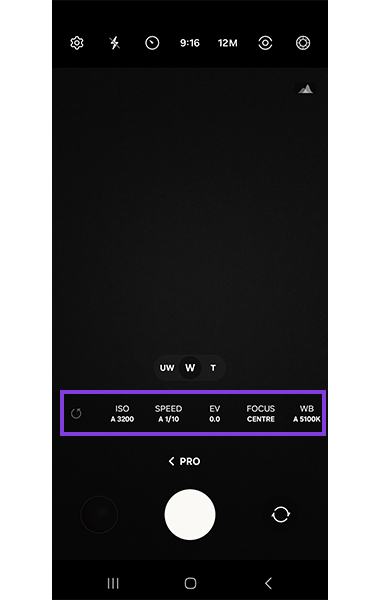
Available options
 : Reset the settings.
ISO: Select an ISO value. This controls camera light sensitivity. Low values are for stationary or brightly lit objects. Higher values are for fast-moving or poorly lit objects. However, higher ISO settings can result in noise in pictures or videos.
SPEED: Adjust the shutter speed. A slow shutter speed allows more light in, so the picture or video becomes brighter. This is ideal for pictures or videos of scenery or pictures or videos taken at night. A fast shutter speed allows less light in. This is ideal for capturing pictures or videos of fast-moving subjects.
EV: Change the exposure value. This determines how much light the camera’s sensor receives. For low-light situations, use a higher exposure.
FOCUS: Change the focus mode. Drag the adjustment bar to manually adjust the focus.
WB: Select an appropriate white balance, so images have a true-to-life color range. You can set the color temperature.
MIC: Select which direction’s sound you want to record at a higher level. You can also use a USB or Bluetooth microphone by connecting it to your device (Pro video mode).
ZOOM: Adjust the zoom speed (Pro video mode).
Thank you for your feedback!
Please answer all questions.
 icon to display it.


