Test Mode in Samsung Galaxy Fit3
Test Mode allows you to check the functionality of different components and sensors within the watch. In this guide, we will explore how to enter test mode in the Samsung Galaxy Fit3 watch and understand its various functions.
Note:
- Ensure your Galaxy Fit3 watch is paired to your Samsung smartphone via Wearable app
- Screens and Images are simulated, for illustrative purpose only.
Enable Test Mode
Note: - Once you select the Auto Test, a prompt will appear on your watch, asking whether you wish to proceed with the test or not. To continue, tap YES on your watch; otherwise, tap NO to cancel.
LCD
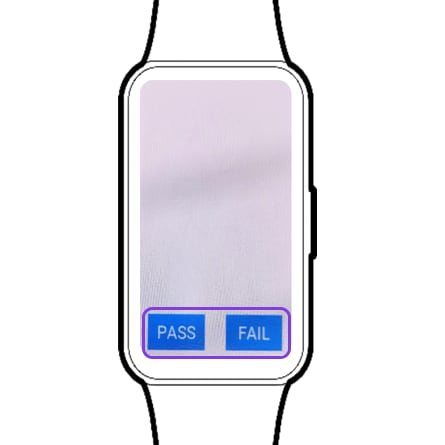
This test to examine display effects using multiple images. After activating the test, users should tap each display and check for defects. If no defects are found, they should tap "PASS"; otherwise, they should tap "FAIL".
Touch Screen
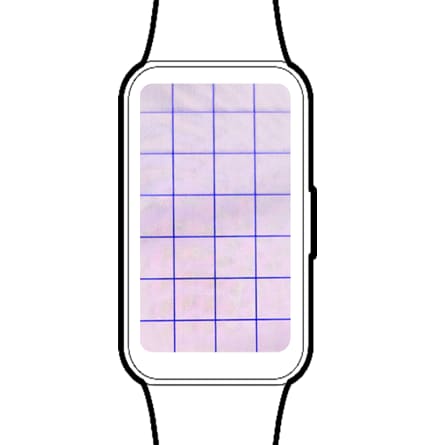
This test is used to check the Touch Screen working. Once the test is activated, trace your finger across all grids on the screen. If all grids are covered by touch operation, the watch will move to next test automatically.
Motor
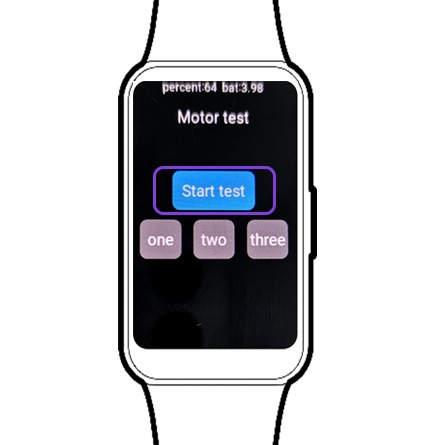
This test checks if the motor has any defects by performing vibrations one, two, or three times. If the vibration count matches, there are no defects; and the next test will be conducted.
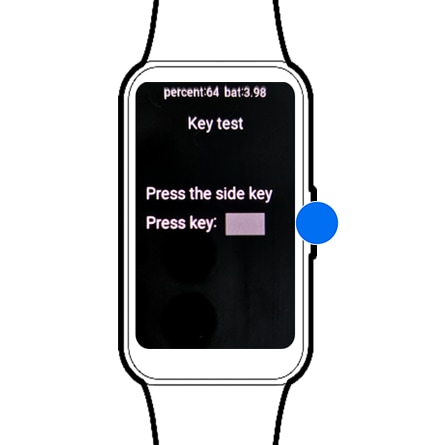
Key
It is used to check the Key. Press the side Key and observe the result. If the Key press is detected (indicated by the indicator changing color from Gray to Green), there are no defects. However, if the test doesn't finish within 20 seconds, there could be a defect.
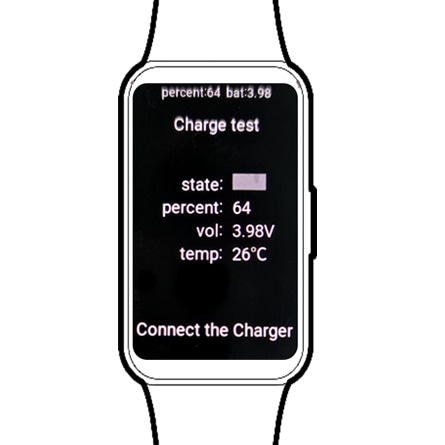
Charge
Connect the device to the charger for 20 seconds. If the charging works normally (indicated by the indicator changing color from Gray to Green), there are no defects. Failure to complete the test within 20 seconds may indicate a defect.
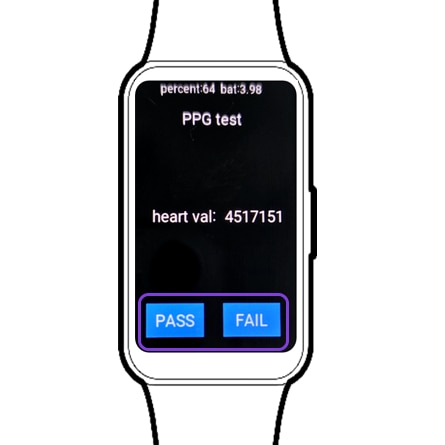
HRM (PPG)
It is used to check the HRM sensor. If the PPG LED keeps blinking and displays a numerical value, there are no defects.
*PPG stands for Photoplethysmography
*HRM stands for Heart Rate Monitor
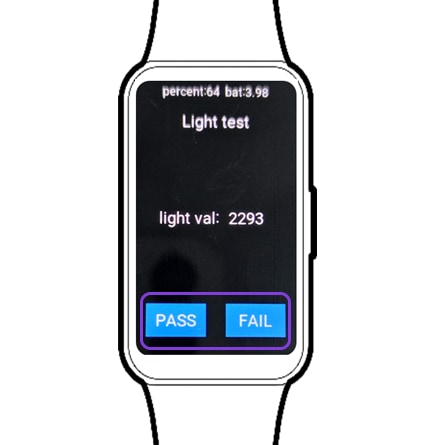
Light
It is used to check the Light sensor. After activating the test, cover the top side with paper or another object, which should decrease the value. A decrease in value indicates no defects.
Accelerometer
It is used to check the Accelerometer. After starting the test, users rotate the band clockwise 90 degrees horizontally within 20 seconds. During rotation, the values of x, y, and z should change.

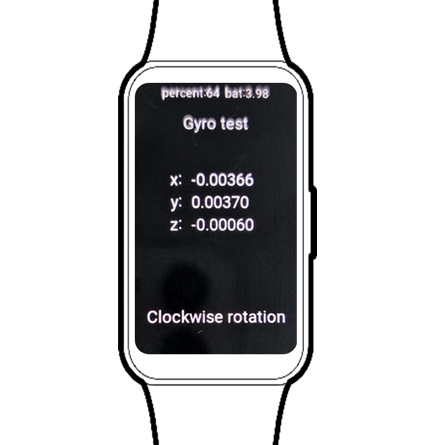
Gyro Sensor
It is used to check the Gyro Sensor. After starting the test, users rotate the band clockwise 90 degrees horizontally within 20 seconds. During rotation, the values of x, y, and z should change.
Barometer
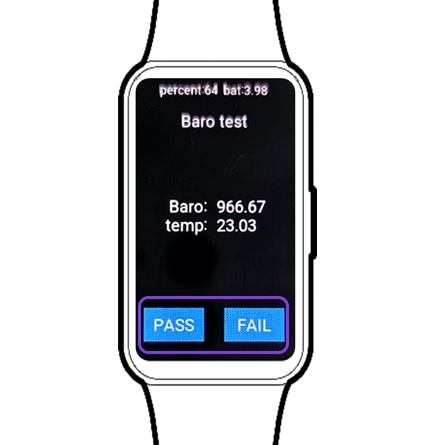
It is used to check the Barometer. Check the value of Barometer. A displayed numerical value means there are no defects.
Brightness
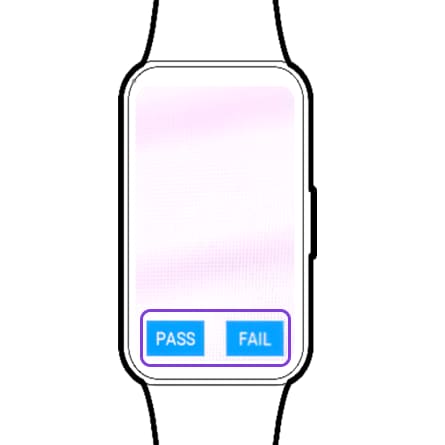
It is used to check the brightness change of the screen. The backlight intensity should change from bright to dark (100% > 50% > 10%). Normal brightness change in this sequence indicates no defects.
QR Result(Auto)
Test Results – Check Test Results
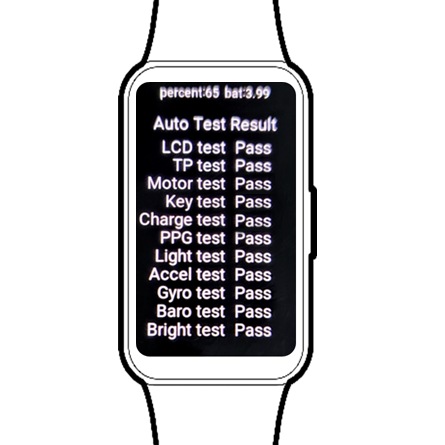
- Pass or Fail: Check each item’s test result.
- After Auto Test, the result page will be displayed as below or you can check through the Test Result (Auto) menu.
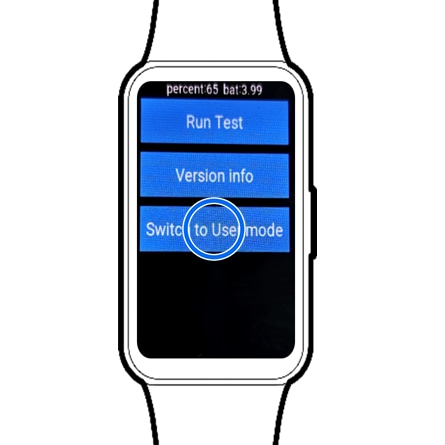
Note: Once you've finished testing the various components and sensors, exit test mode by tapping the Back button on the watch and tap on Switch to User mode.
For more information, please get in touch with Samsung customer care.
Thank you for your feedback!
Please answer all questions.


