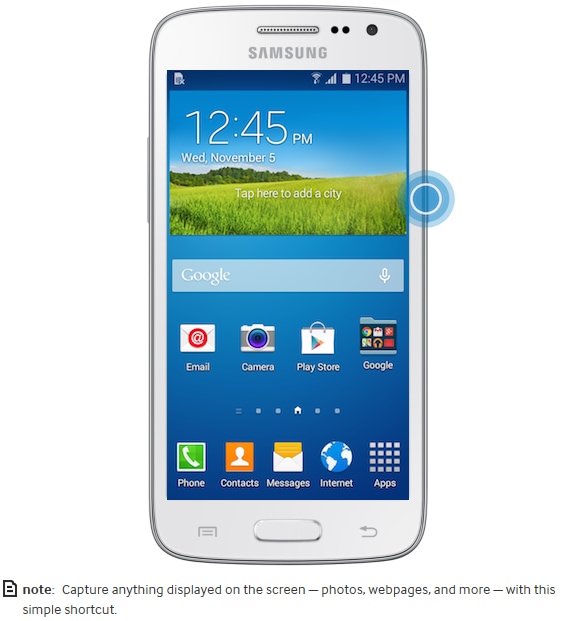
Galaxy Core: How Do I take screenshots on my device?
Last Update date : Nov 23. 2020
Capture Screenshots

To capture a screenshot, press and hold the Home key and the Power/Lock key simultaneously until a white border flashes around the edges of the screen. The screenshot will be copied to the clipboard and saved to the Screenshots folder in the Gallery.
View Your Screenshots
To view a screenshot immediately after you capture it:
1. Open the Notification Panel by swiping from the top of the screen to the bottom.
2. Touch Screenshot captured.
Note: To view your screenshots at any time, from the Home screen, touch Apps > Gallery > Screenshots.
3. Touch the desired screenshot.
4. When viewing the screenshot, the following icons are available at the top of the screen:
• Share via: Share the screenshot using one of the available options. Sharing options vary based on applications installed and features turned on.
• Edit: Edit the screenshot.
• Delete: Delete the screenshot.
5. Touch More options
• More info: View more information about the screenshot.
• Copy to clipboard: Copy the screenshot to the device clipboard for pasting into other applications.
• Crop: Crop unwanted areas out of the screenshot.
• Rename: Rename the screenshot.
• Slideshow: Start a slideshow of the screenshots in the folder.
• Set as: Set the picture as a Contact photo, Home and lock screens wallpaper, Home screen, or Lock screen.
• Print: Print the screenshot to an available printer via a wireless network, Wi-Fi Direct®, or a USB cable.
• Settings: View and edit Gallery settings. Select Sync only via Wi-Fi for pictures and videos. Turn on Tag buddy or Face tag.
You can delete, edit, and share screenshots from the Notification Panel. With two fingers slightly separated, touch Screenshot captured and swipe down to expand and display all options.

Thank you for your feedback!
Please answer all questions.